
I’ll be honest with you, I haven’t been very impressed with Starlink routers in the past. They were nothing special, just basic Wifi routers with minimal features and options. Now that Starlink is on its 3rd hardware iteration, has the router improved at all?
In this review, you’ll learn all the features and specs of the Starlink Gen 3 router, and see how it manages to be more than 4 times faster than previous generations. I will also walk you through the installation and setup process for each generation of Starlink dish.
Is it a worthwhile upgrade for your old Gen 1 or Gen 2 router? Is Starlink Gen 3 going to be a big leap in performance? Let’s find out!Table of Contents
- Overview
- Installation and Setup
- Review
- Will the Gen 3 Router Make My Internet Faster?
- Final Thoughts
Overview
The Starlink Gen 3 router/mesh router (UTR-231) is a complete redesign, with better technology, new styling, and more features compared to previous versions. It is backwards compatible with older Starlink systems, so it’s available as an upgrade for Gen 1 and Gen 2 routers.
You can also use a Gen 3 router as a mesh node. It pairs wirelessly to an existing Gen 2 or Gen 3 router. It can even pair as a mesh node to the Starlink Mini dish.
Price
The Starlink Gen 3 router costs $199. It can be purchased directly from Starlink in the online shop.
Features
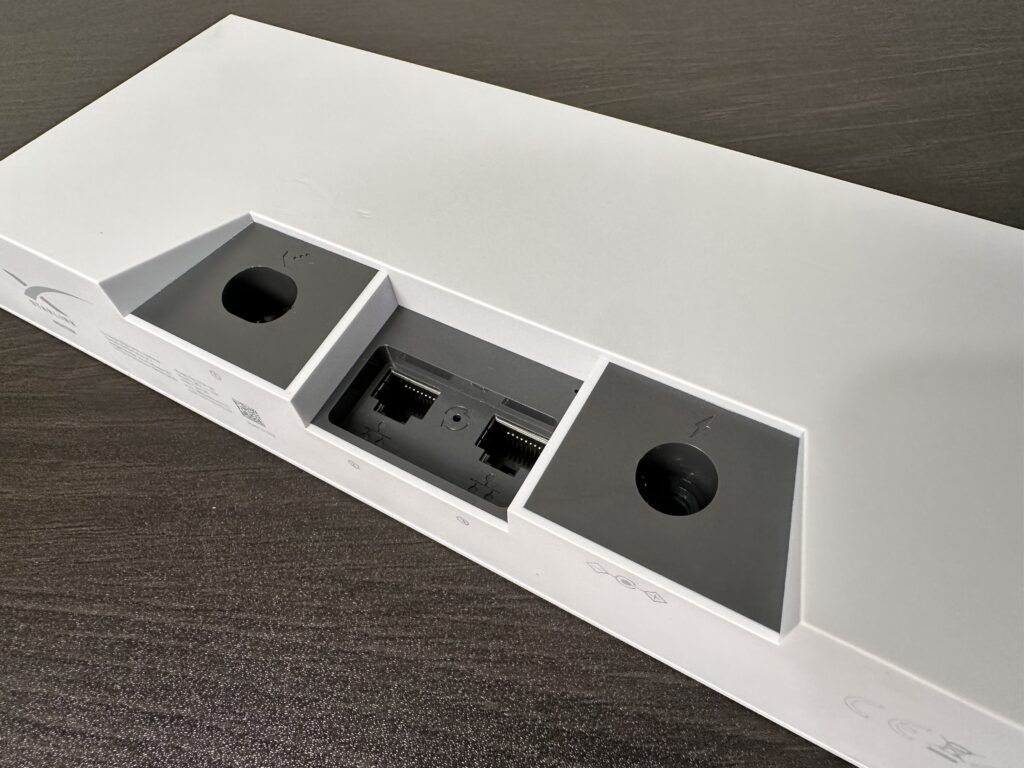
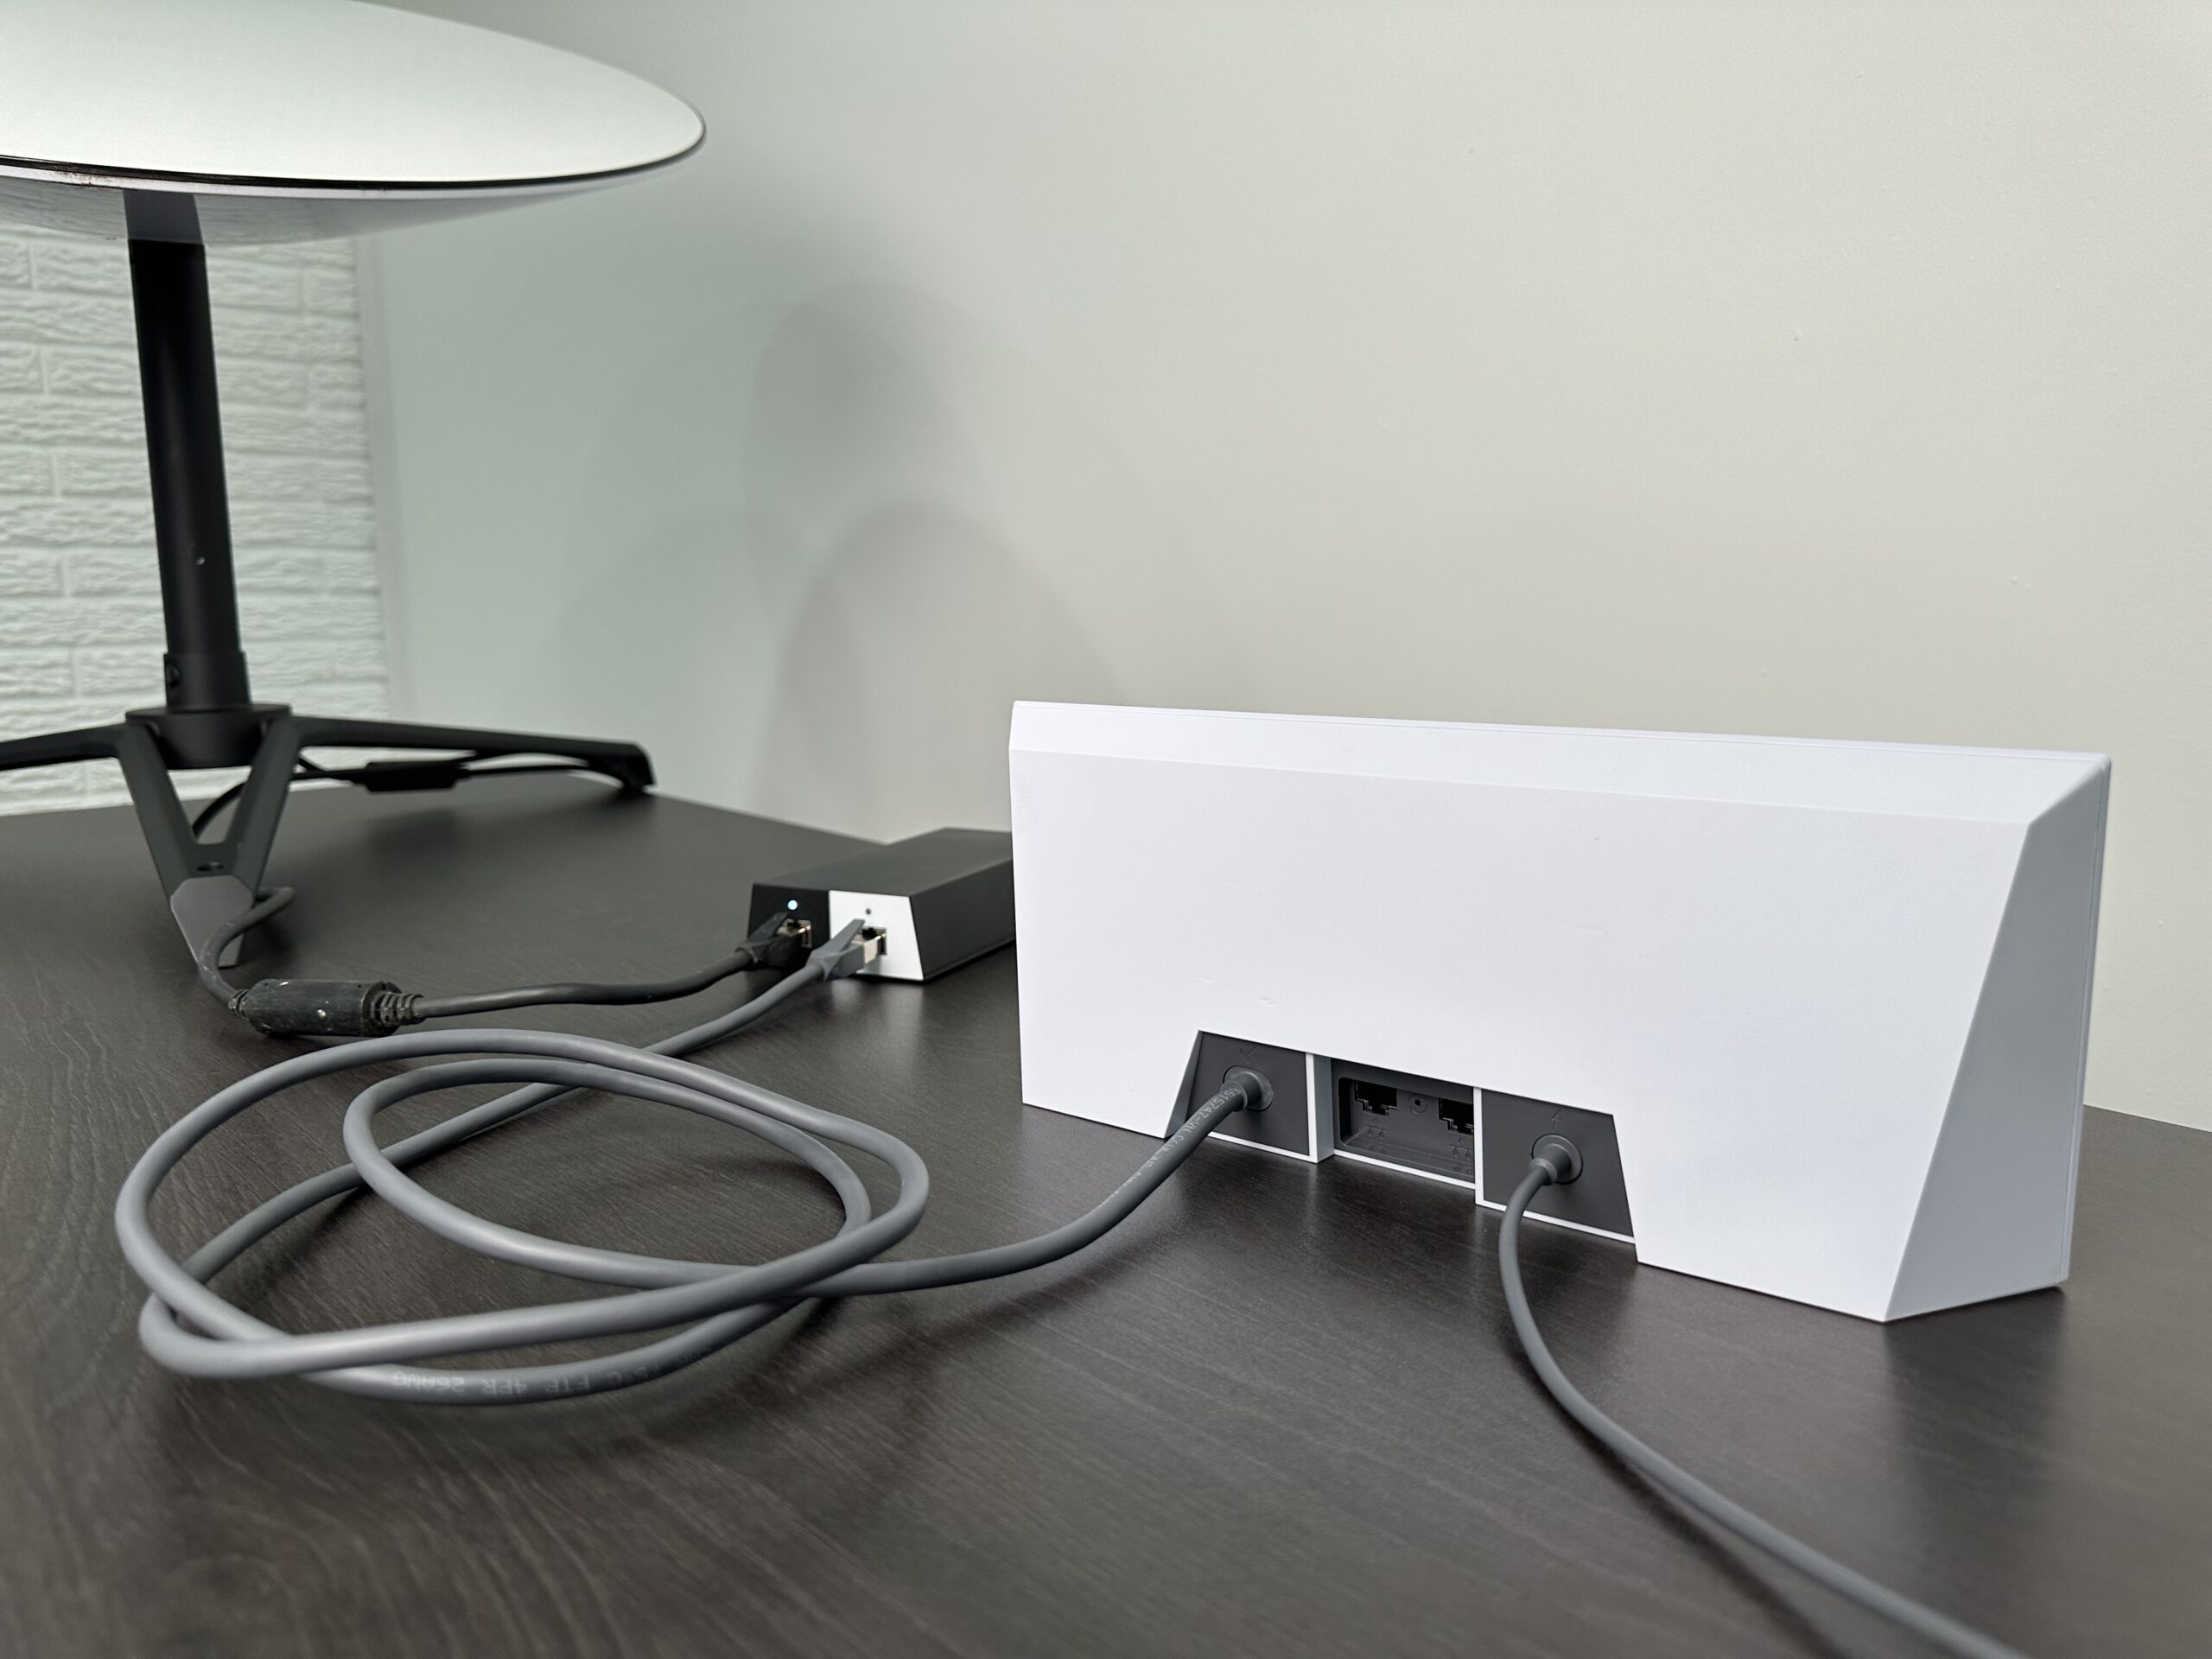
Ethernet ports are back! Starlink listened to customer feedback regarding the lack of Ethernet LAN ports on the Gen 2 router. The Gen 3 router features two Ethernet ports so that you can easily connect your devices.

They also added an LED status indicator to the front of the router. With Gen 2, there was a LED power indicator on the bottom of the router, which wasn’t very useful. On the Gen 3 router, the LED can change colors, go solid, or flash to indicate the status of the Starlink system.
Like I mentioned earlier, Starlink made the Gen 3 router backwards compatible with all previous dish versions. So, whether you own the current rectangular dish or the original round dish, you’ll be able to upgrade if you want. If you are using Starlink mesh, the Gen 3 routers are compatible with Gen 2 mesh nodes.
Read my Starlink Router Configuration Guide to learn about all the Gen 3 router features and settings.
Specs
By far, the biggest upgrade over the Gen 2 router is the Wi-Fi 6 technology. Wi-Fi 6 offers much better speed and range compared to the Wi-Fi 5 tech in the previous routers. The Gen 3 router also features a tri-band radio for better mesh performance. Gen 1 routers weren’t mesh compatible at all, and Gen 2 just had a dual-band radio.
- Dimensions: 2.4” x 11.8” x 4.7” (55 x 300 x 120 mm)
- Weight: 2.2 lbs (1 kg)
- Wi-Fi: Wi-Fi 6, 802.11 a/b/g/n/ac/ax
- Device Limit: Connect up to 235 devices at one time
- Security: WPA2
- Radio: Tri-Band 4 x 4 MU-MIMO
- Input Ports: Starlink dish connection, power adapter
- Output Ports: 2 x LAN Ethernet ports
- Operating Temperature: -22°F to 122°F (-30°C to 50°C)
- IP Rating: IP56 (Water Resistant), designed for indoor use only
Installation and Setup
The Starlink Gen 3 router works as the main router for any kind of Starlink dish. Here are the setup and installation instructions for each version:
Gen 1 Circular
For the Gen 1 hardware (round dish), the Gen 3 router will completely replace the old Gen 1 router. Here is how you plug everything in:
- Plug in the Gen 3 router power cord. The LED indicator on the lower left of the router should light up and flash white.
- Unplug the Gen 1 router from the Gen 1 power supply brick.
- Use the included Starlink router cable to connect the Gen 3 router to the white side of the Gen 1 power supply brick.
- On your phone, connect to the STARLINK Wi-Fi network. Open the Starlink app to finish the setup by choosing a new network name and password.
- Connect to your new Wi-Fi network using the password you set in step 4. Open the Starlink app and check to make sure you are Online.
The LED indicator on the Gen 3 router will turn solid white when you are connected to the internet. The LED will turn off automatically after an hour. If it ever turns red, that indicates an issue with your connection.
Gen 2 Standard Actuated
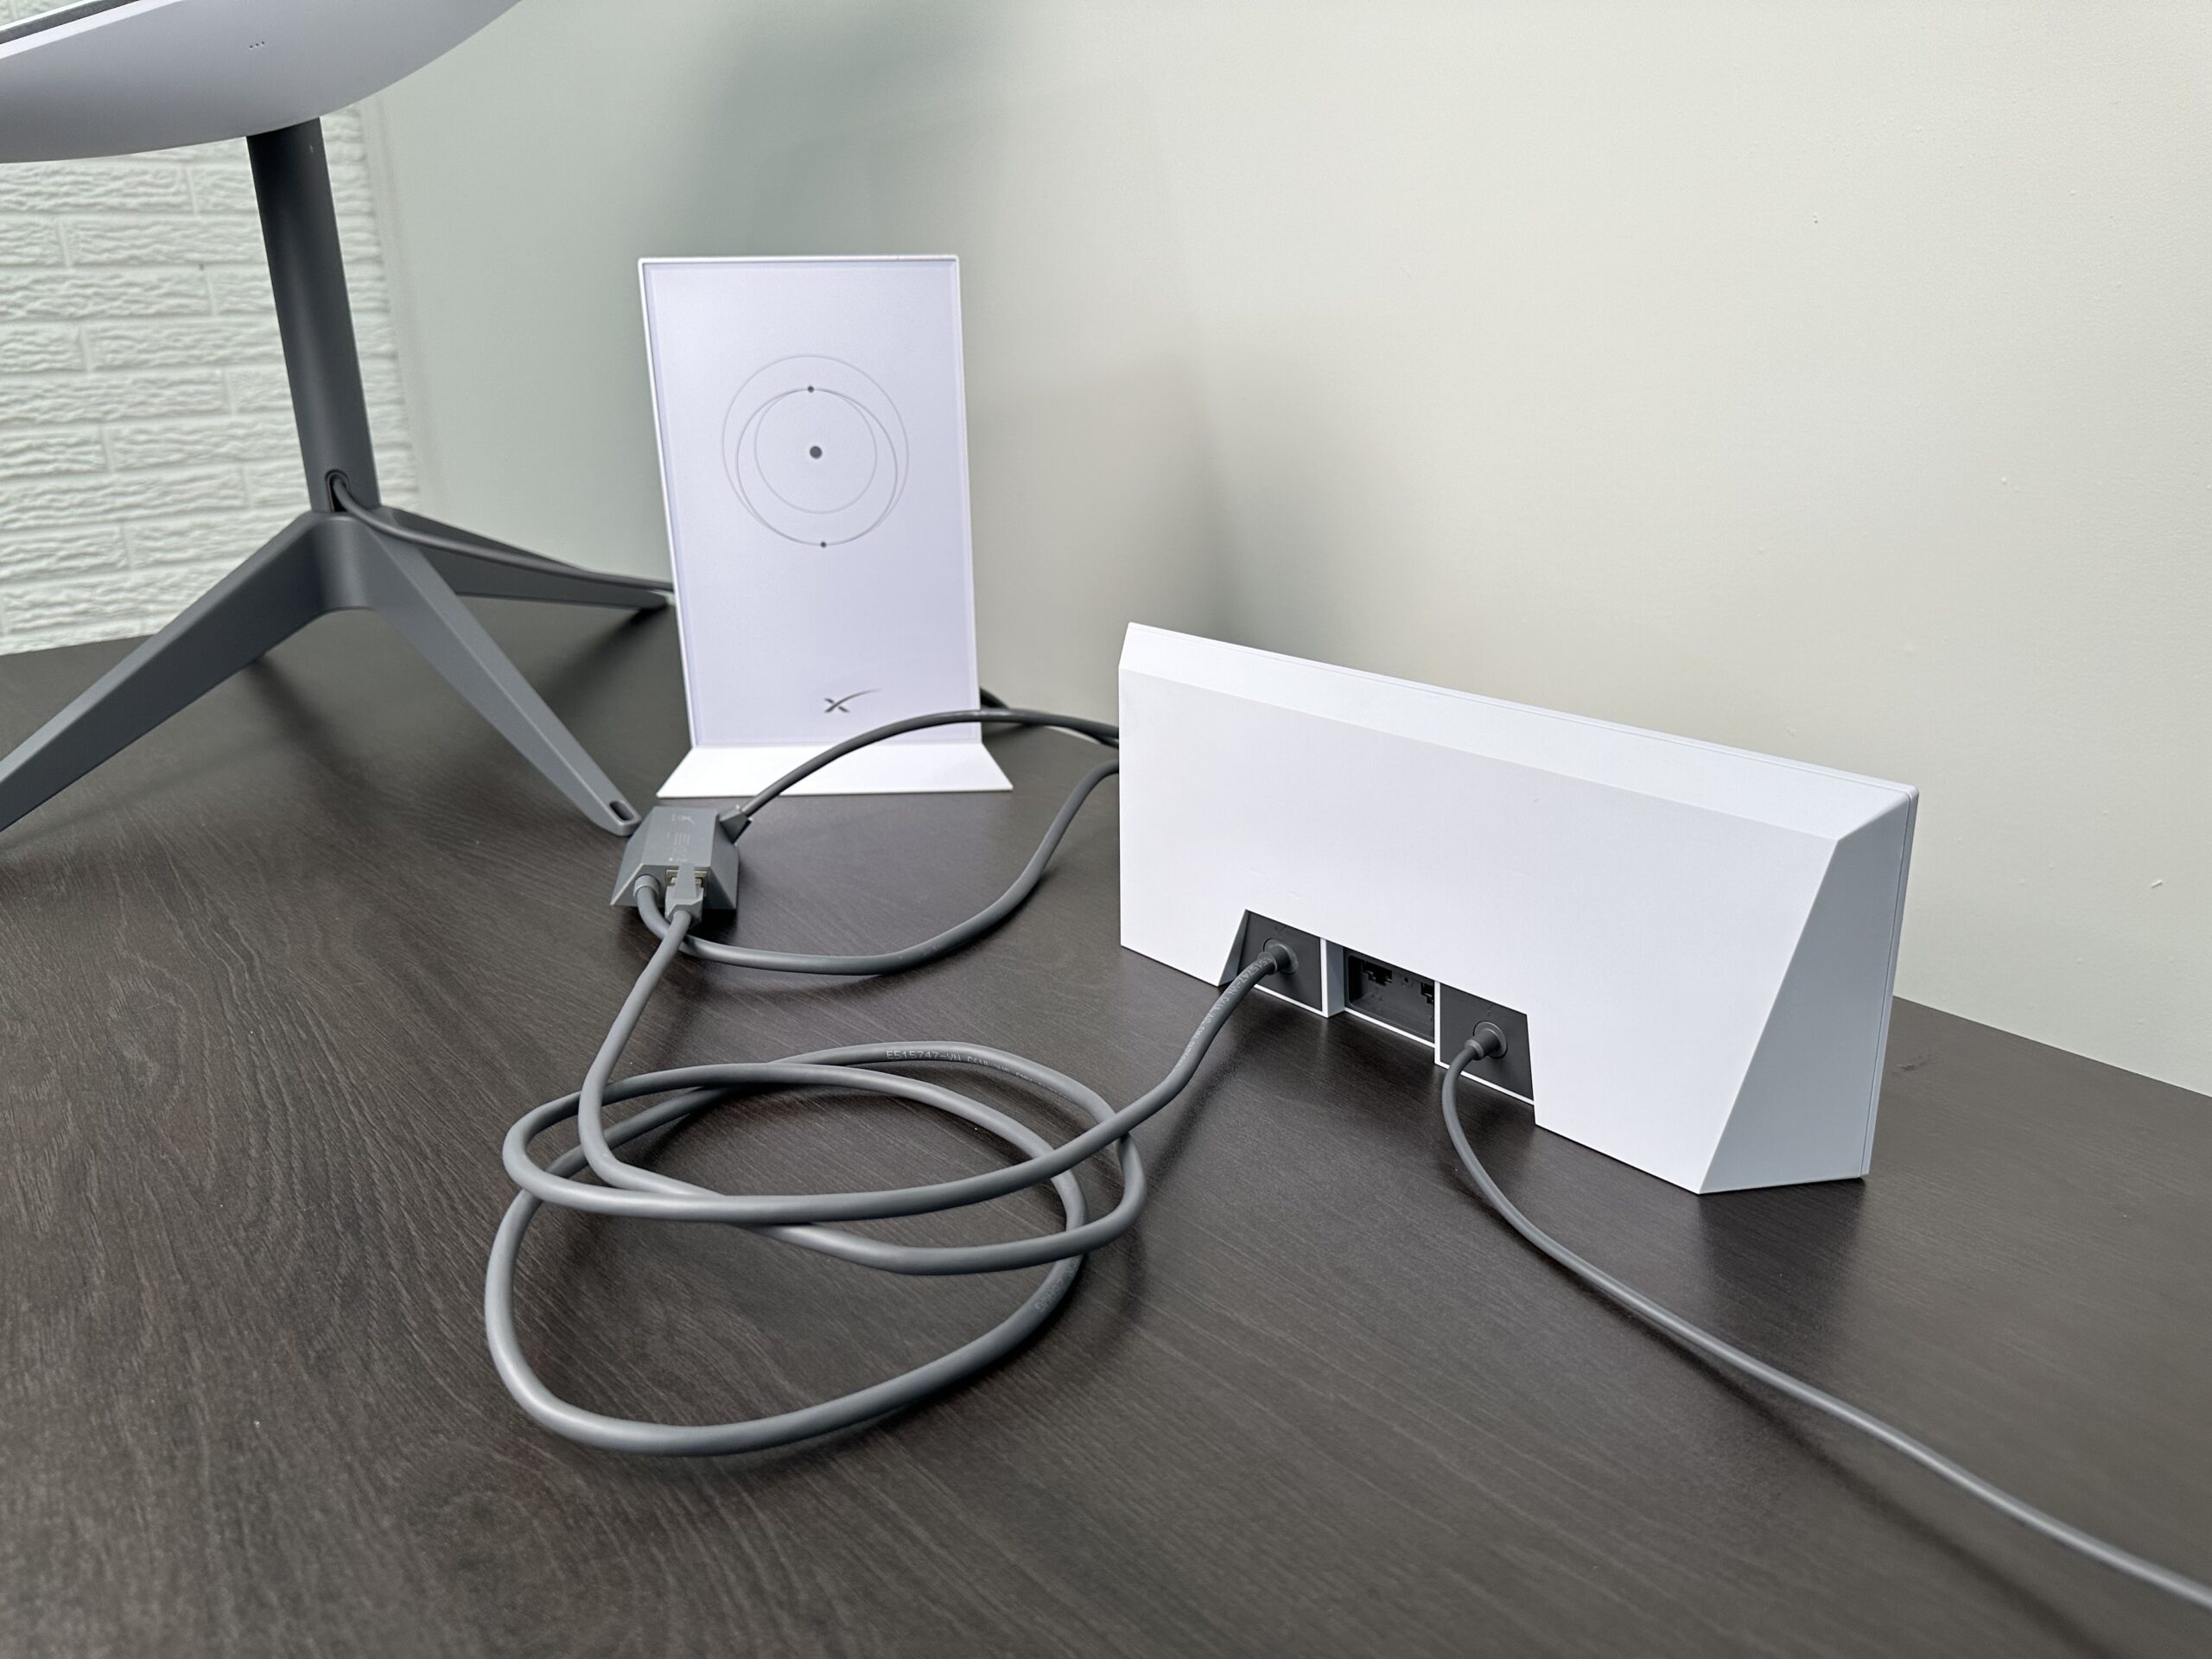
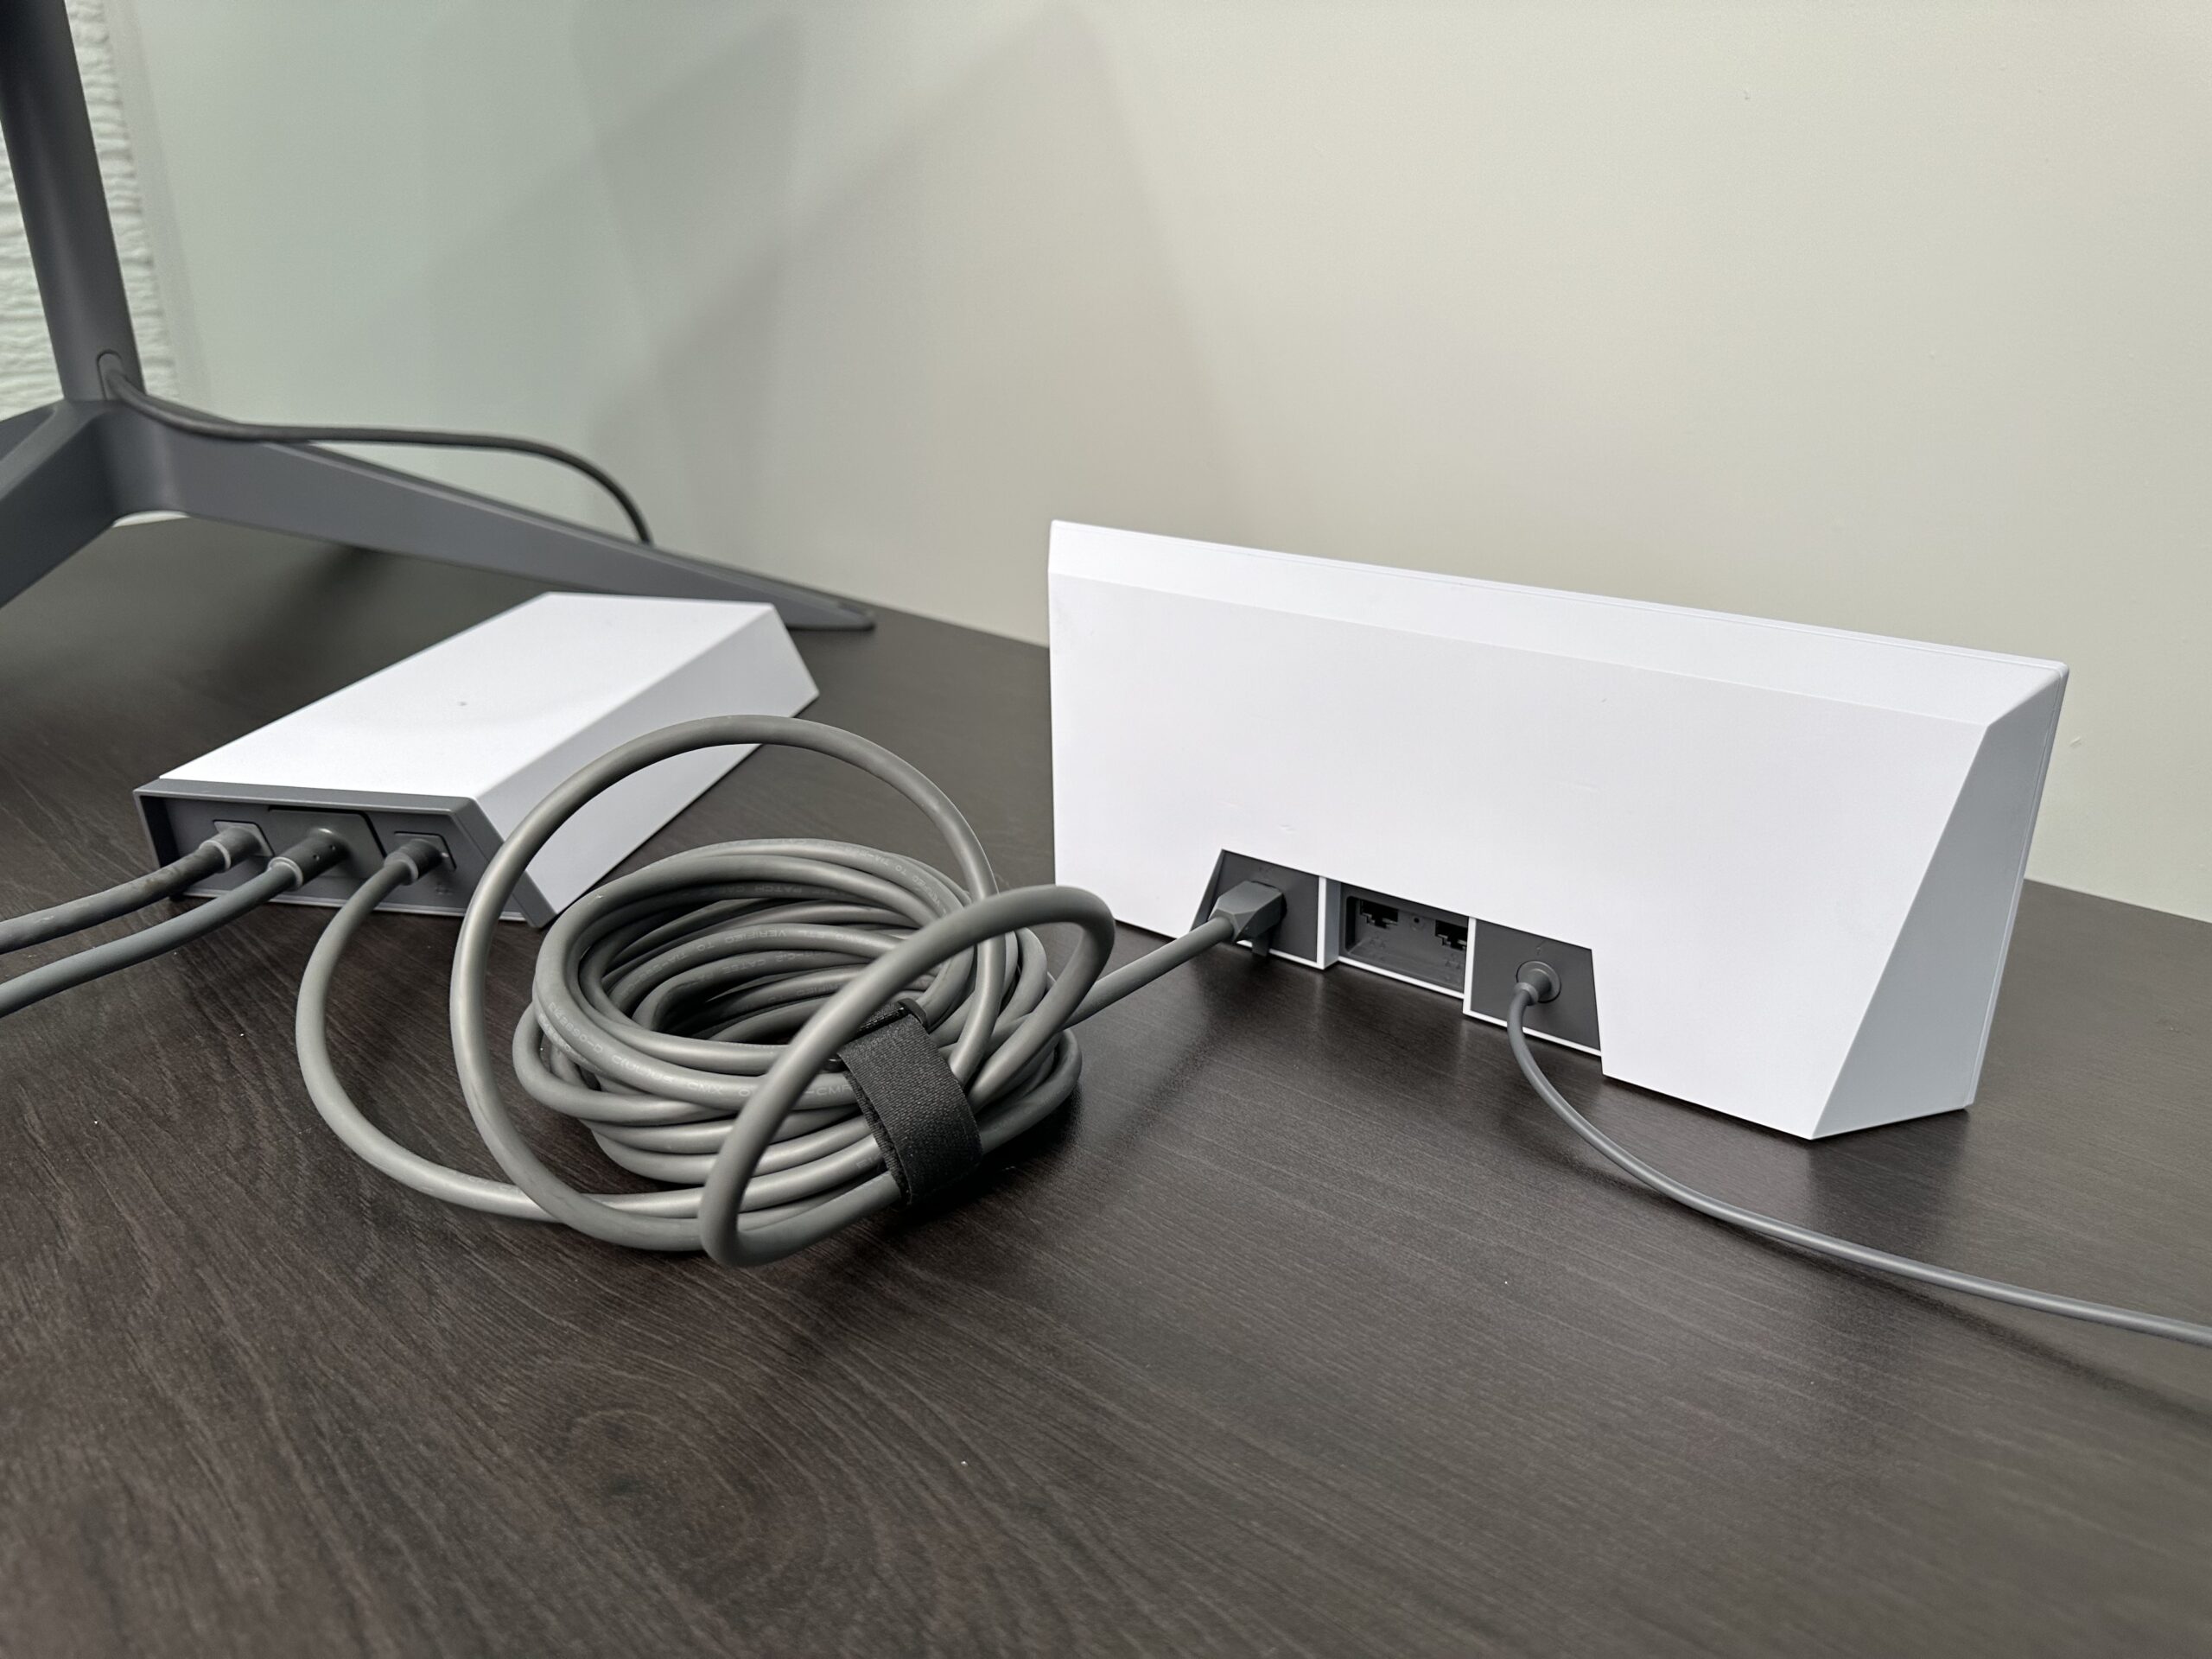
Using the Gen 3 router with the Gen 2 Standard dish is a little more complicated. Since the Gen 2 router also serves as the power supply for the dish, you can’t get rid of it completely. Instead, you’ll need to connect the Gen 3 router using the Starlink Ethernet Adapter accessory, and then put the Gen 2 router in bypass mode:
- Plug in the power supply cable for the Gen 3 router. An LED indicator on the lower left of the router should start flashing white.
- Install the Starlink Ethernet Adapter on your Gen 2 router. See this guide if you need additional details.
- Plug the Gen 3 router into the Ethernet Adapter using the included cable. The LED indicator should change to solid white.
- While still connected to your existing Gen 2 Wi-Fi network, open the Starlink app. Enable bypass mode by going into the router settings. Here is a tutorial if you need more help.
- Connect to the STARLINK Wi-Fi network. Open the Starlink app and complete the Wi-Fi setup by setting a name and password.
- Connect to your new Wi-Fi network by entering the password you set in step 5. Check that you are Online in the Starlink app.
The LED on the Gen 3 router should turn solid white. It will turn off automatically after an hour. If you see a red indicator light, that means there is an issue with your connection.
Gen 2 High Performance
Using the Gen 3 router with the High Performance dish (or Flat High Performance dish) is pretty easy. Here are the steps to hook everything up:
- Plug in the Gen 3 router power cord. The LED indicator on the lower left of the router should light up and flash white.
- Unplug the Gen 2 router from the High Performance power supply brick. If you were using the Ethernet Adapter, it can be removed as well.
- Use the included Starlink High Performance router cable to connect the Gen 3 router to the High Performance power brick.
- On your phone, connect to the STARLINK Wi-Fi network. Open the Starlink app to finish the setup by choosing a new network name and password.
- Connect to your new Wi-Fi network using the password you set in step 4. Open the Starlink app and check to make sure you are Online.
The LED indicator on the Gen 3 router will turn solid white when you are connected to the internet. The LED will turn off automatically after an hour. If it ever turns red, that indicates an issue with your connection.
Using the Gen 3 Router as a Mesh Node
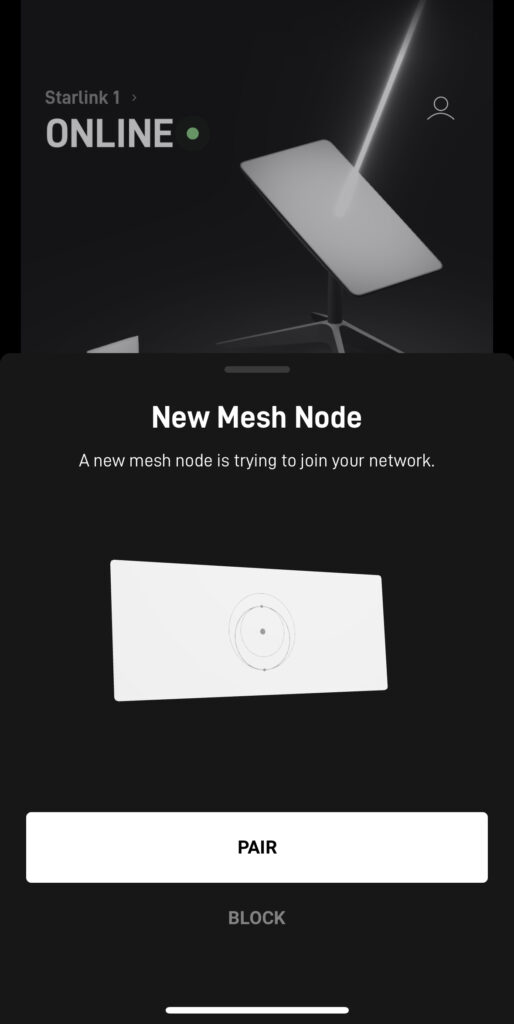
The Gen 3 Starlink router can also serve as a mesh node. You can add the Gen 3 router to your existing Gen 2 mesh network, or create a Gen 3 mesh network by purchasing multiple Gen 3 routers.
The Gen 1 router is not mesh compatible. If you have a Gen 1 system, you can purchase additional Gen 2 or Gen 3 routers to use as mesh nodes, but you can’t use the old Gen 1 router.
To learn more about Starlink mesh and how to pair additional mesh routers on your network, check out this guide.
Review
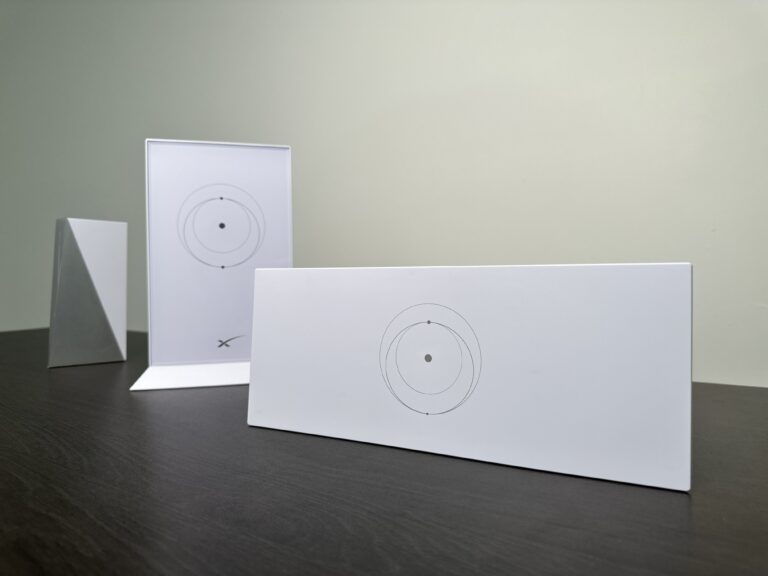
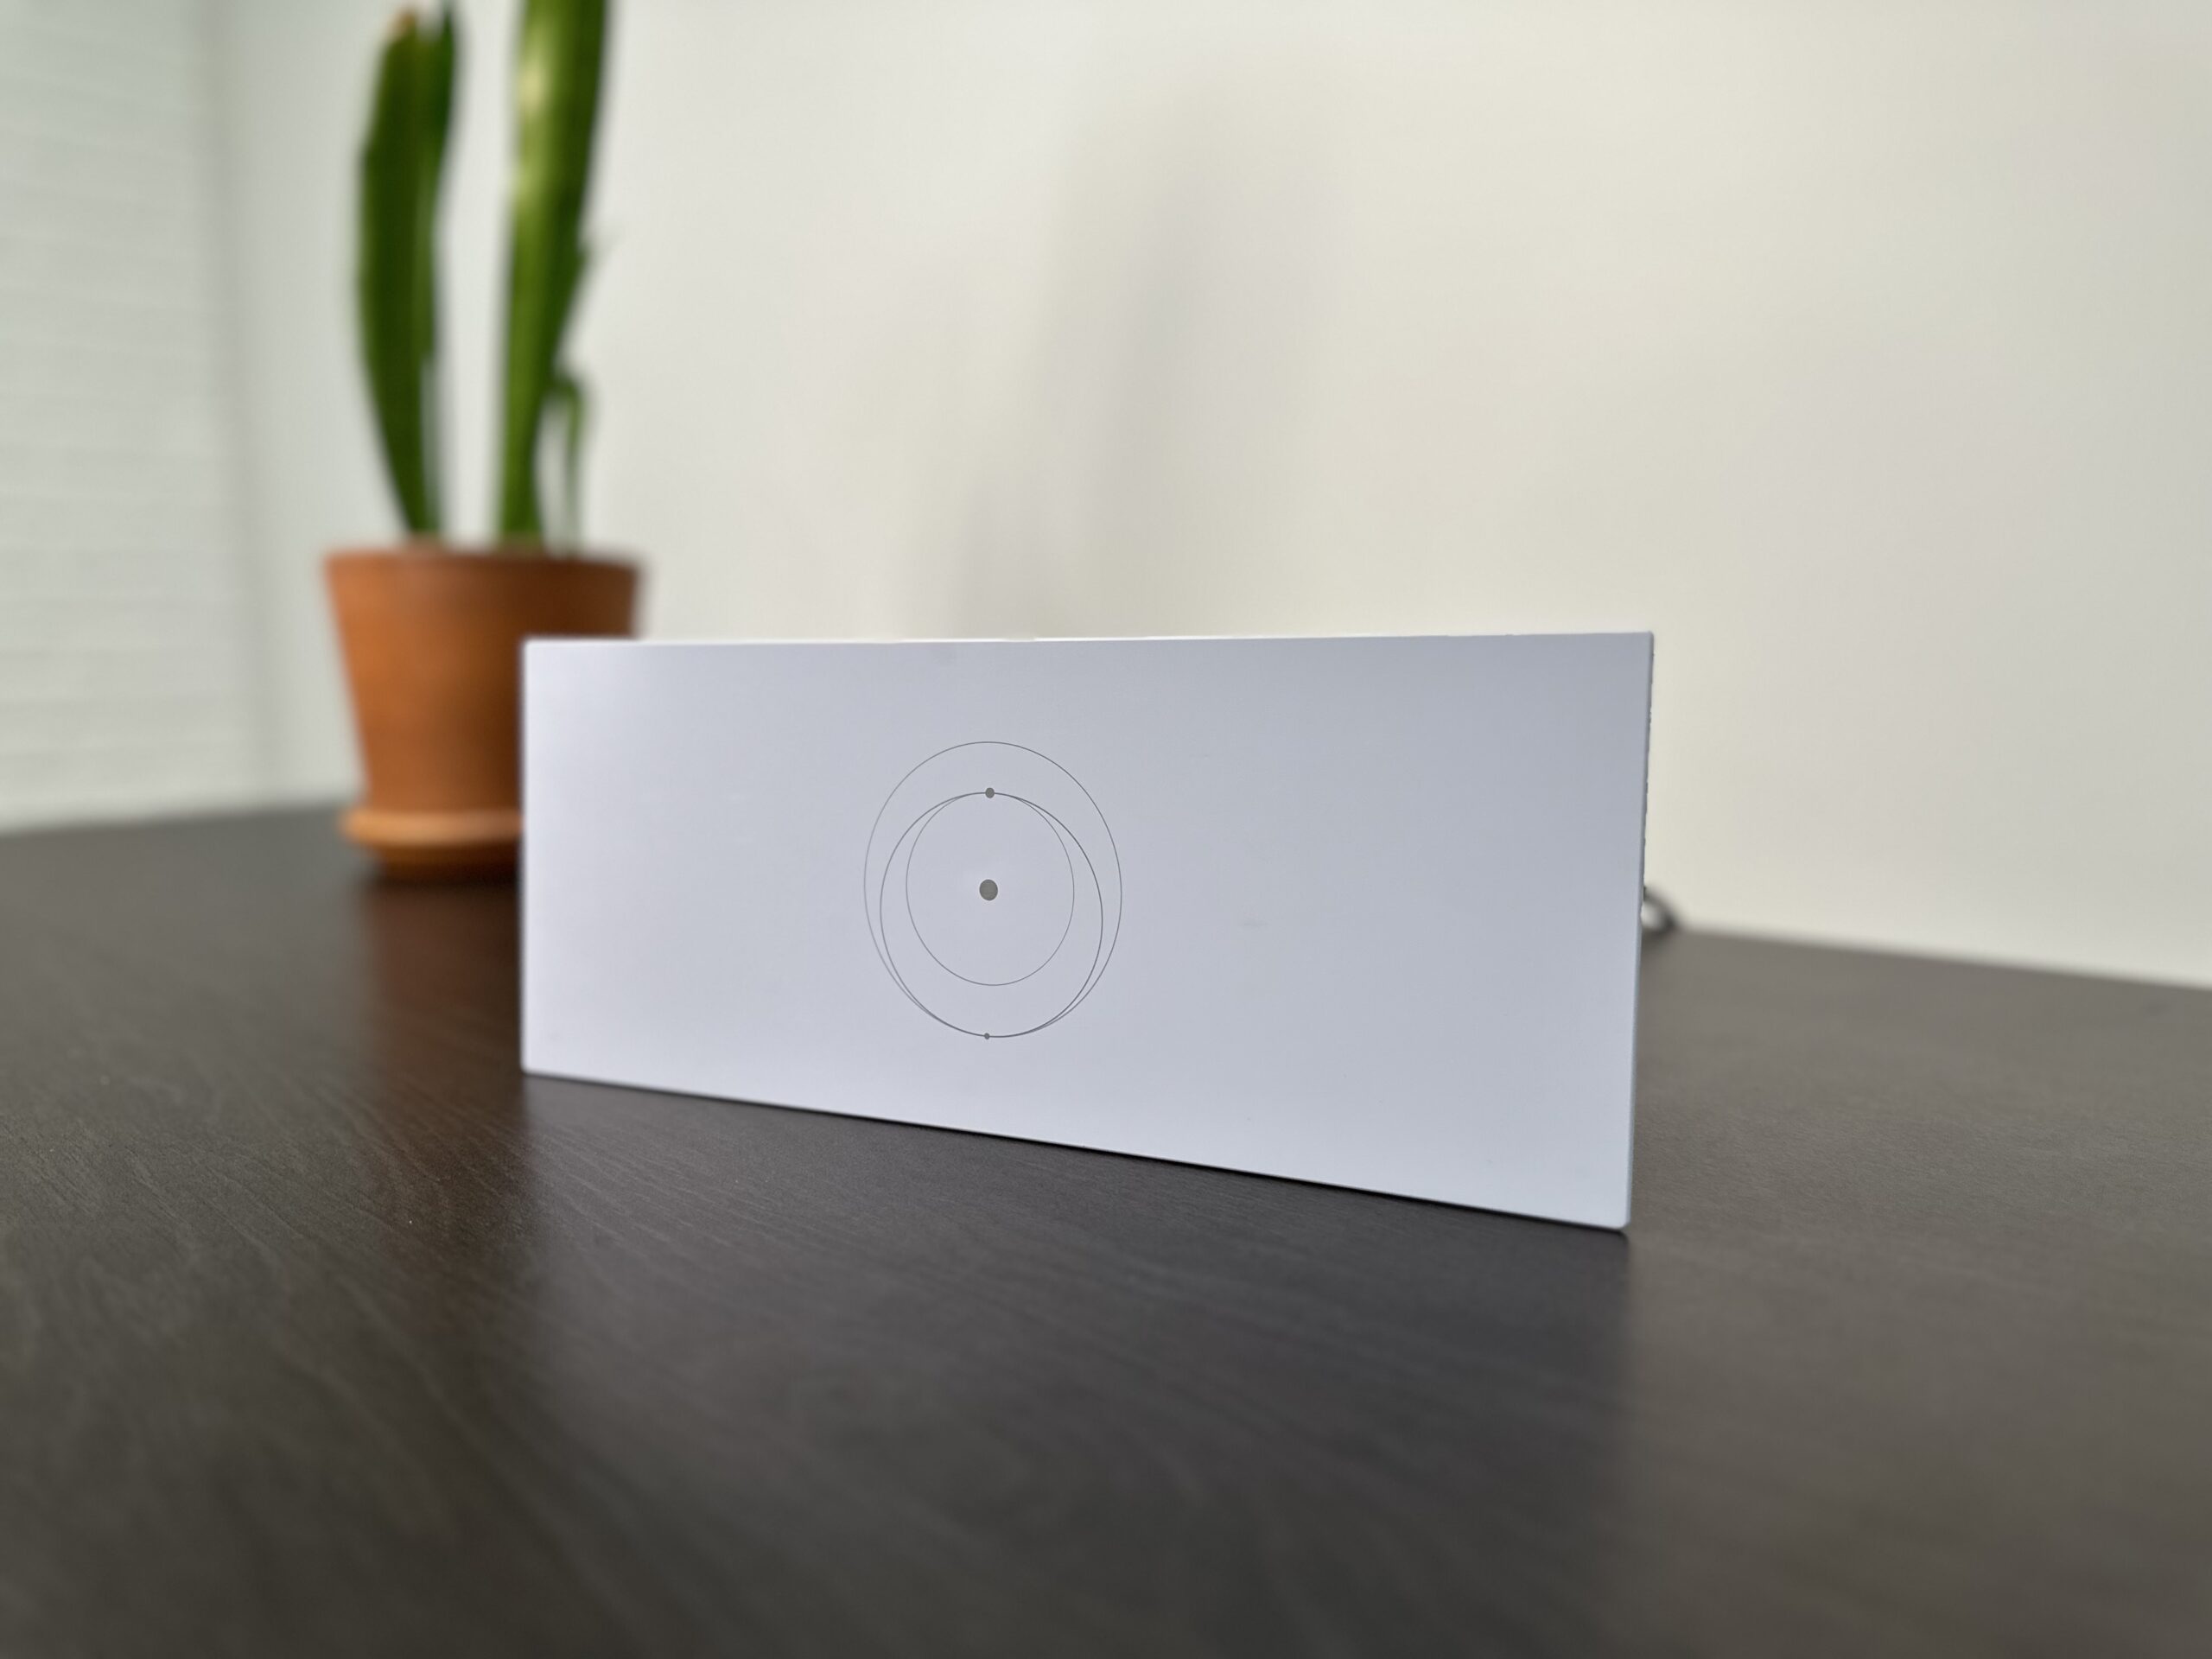
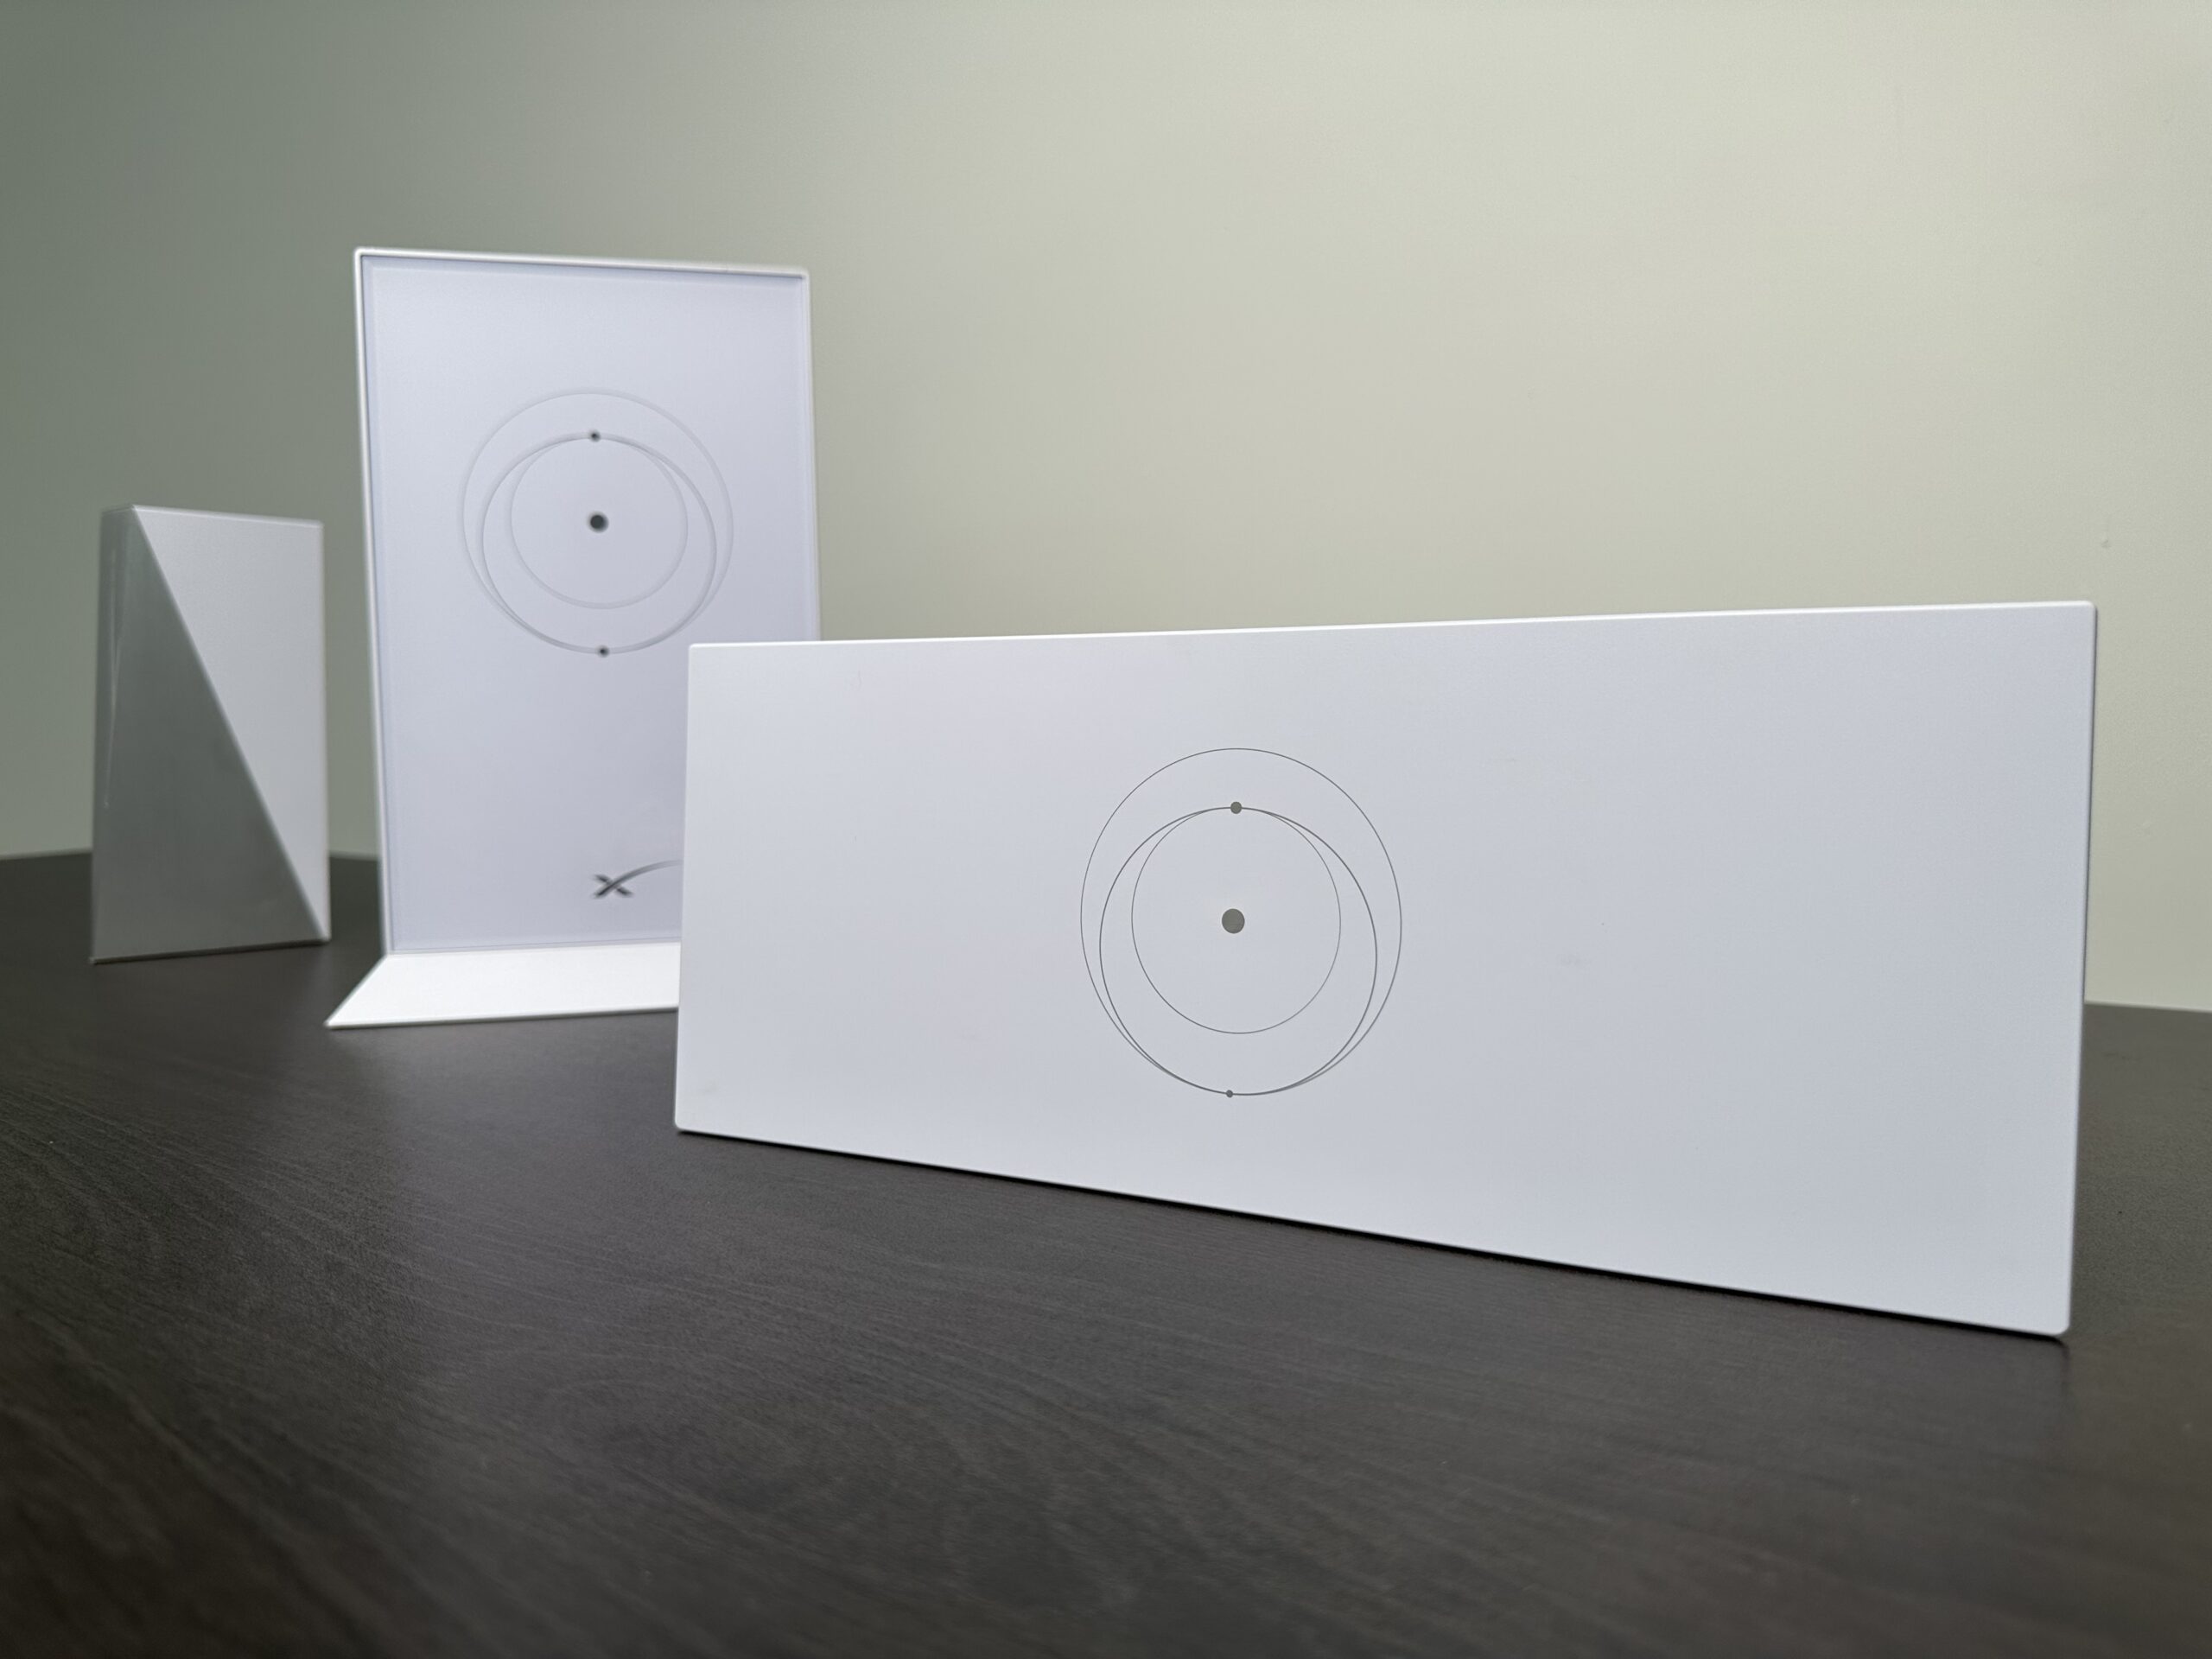
The Gen 3 router has a similar look to the previous generation. It’s all white plastic, with the familiar orbital transfer ellipse pattern on the front. The back has a sort of rubber texture to it. All the ports are on the back this time, instead of the bottom like Gen 2. And I’m also happy they moved the LED status indicator back to the front so that you can actually see it.
It’s an odd shape, I’ll admit. I’m sure it will take on a nickname like the “hotdog” router eventually. But despite the weird wedge shape, it looks pretty boring straight on. It just looks like a long rectangle from most angles. That’s not a con in my opinion. It is a router, after all, not a design statement for your living room. You’ll be able to tuck this into any space without too many issues.
Upgrades Over the Gen 2 Router
Overall, the Gen 3 router has some great tech upgrades over the Gen 2 (and Gen 1) router. What it boils down to is the change to Wi-Fi 6. Wi-Fi 6 brings faster speed and better range. More on that in the next section. The mesh performance is also better thanks to the addition of a third radio channel, making Gen 3 tri-band. That extra channel frees up bandwidth for devices, and allows the mesh nodes to talk to each other more efficiently.
Wifi Speeds and Range
Now let’s talk about the fun stuff, the performance! The main reason to upgrade to the Gen 3 router is the performance and range. I’m happy to report that the Gen 3 router is much faster than Gen 1 and Gen 2, in terms of Wi-Fi speed. It also has a lot better range. The Wi-Fi experience with Gen 3 is much more consistent thanks to Wi-Fi 6.
I performed some testing, putting the Gen 3 router up against the previous generations. Each router was set up, one at a time, in the same spot in my house. Then, I used the Starlink app on my iPhone 14 Pro, connected on the 5 Ghz channel, to test the Wi-Fi speed at two distances. One test was performed 3 feet from the router, and the other test 50 feet from the router, 2 rooms away. I ran each test multiple times, and picked the best result for each router model.
| Router | Wi-Fi Speed (3 feet away) | Wi-Fi Speed (50 feet away) |
|---|---|---|
| Starlink Gen 1 | 436 mbps | 47 mbps |
| Starlink Gen 2 | 670 mbps | 47 mbps |
| Starlink Gen 3 | 864 mbps | 203 mbps |
In my testing, the Starlink Gen 3 router was more than 4 times faster at a distance of 50 feet, compared to the Gen 1 and Gen 2 routers. In my opinion, the 50 ft test is a realistic example of how a Wi-Fi router would be used. Because the speed is much higher, it shows that the Gen 3 router has much better Wi-Fi range and performance.
Of course, your results will vary. Wi-Fi performance depends on a lot of factors, like your house layout, building materials, etc. This wasn’t a scientific test by any means, but I still think it shows in a general way that Wi-Fi speed and range is much improved on the Gen 3 hardware.
Is Upgrading to the Gen 3 Router Worth It?
I have access to an original Starlink dish, Standard Gen 2 dish, and also a High Performance unit. Setting up the Gen 3 router on each type of dish was pretty straightforward, but using it with the Gen 2 Standard hardware was very odd. Since the Gen 2 router is also the dish power supply, you can’t really replace it. To use the Gen 3 router, you have to go through the bypass procedure as if you were using a 3rd party router with Starlink.
In my view, the Gen 3 router is a great upgrade for owners of the original round dish. On the Gen 1 system, it completely replaces the old router, and gives you access to the latest and greatest Starlink router. It refreshes your old system to perform like the newest Starlink equipment.
For owners of the Gen 2 Standard dish, especially those with multiple Gen 2 mesh routers, I would pass on the upgrade to the Gen 3 router. Although the performance improvement is significant, adding the Gen 3 router is a workaround at best. You can’t take advantage of the tri-band radio, which improves mesh performance, unless you upgrade all your mesh nodes to Gen 3. And if you don’t currently have mesh units, you might as well go for an aftermarket mesh system. You’ll pay less, and get similar features. The installation is the same between aftermarket routers and the Gen 3 router on a Gen 2 Standard system.
If you own the High Performance Gen 2 hardware, the Gen 3 router is a great upgrade. If you’re using the Gen 2 router with a High Performance dish, I highly suggest making the switch as soon as the Gen 3 router is released. After all, what’s the point of having the best dish and service plan if your router is only running Wi-Fi 5 technology?
Have a Starlink Mini? Upgrade the integrated Wifi router by using a Gen 3 router instead. Alternatively, you can just pair one as a mesh node with your Mini’s Wifi router.
Will the Gen 3 Router Make My Internet Faster?
It’s important to understand that upgrading your router won’t necessarily make your internet connection any faster. The speed of your Starlink internet connection depends on your service plan, location, obstructions, and other factors.
What the Gen 3 router will do is increase your Wi-Fi network speed. Devices connected to Wi-Fi will be able to experience higher internet speeds if they were previously limited by a poor Wi-Fi signal. My speed test results are a great example of that. With the Gen 2 router, my phone was limited to 47 mbps download when it was 50 feet away from the router. 47 mbps is below what my Starlink internet can provide. By upgrading to Gen 3, my Wi-Fi speeds increased enough to fully utilize the speed of my Starlink internet connection.
Final Thoughts
For $199, the Starlink Gen 3 router provides a great upgrade opportunity for owners of older Starlink systems. You’ll get modern technology, like Wi-Fi 6 and a tri-band radio. That means much faster Wi-Fi speed and improved range.
What do you think of this new router? Do you see yourself upgrading, or will you pass? Let me know in the comments!


Leave a Reply